Adding Labellers to Your Project
Need to get your labelling team set up? This guide will walk you through everything you need to know about creating labeller accounts and adding them to projects.
Creating New Labellers
Before you can add a labeller to a project, you'll need to create their account. Here's what you'll need:
- Email address
- A password for their initial login
- And optionally, a display name
Quick Setup Guide
- Head over to the 'Users' tab - this is where you'll manage all your labellers
- Click the 'Create New User' button
- Fill in their details:
- Display Name (optional)
- Email address
- Password
Step 1: Navigate to the 'Users' tab : Under the 'Overview' page, you'll find a record of the labellers that exist. If you have not yet created any users yet, then the page will be empty.
Step 2: Select the button 'Create New User' : A pop up will appear asking you to add a Display Name, the name of the labeller you'd like to add, Email, the email address of the labeller you would like to create and finally Password, a password you create for that user to be able to log into their account.
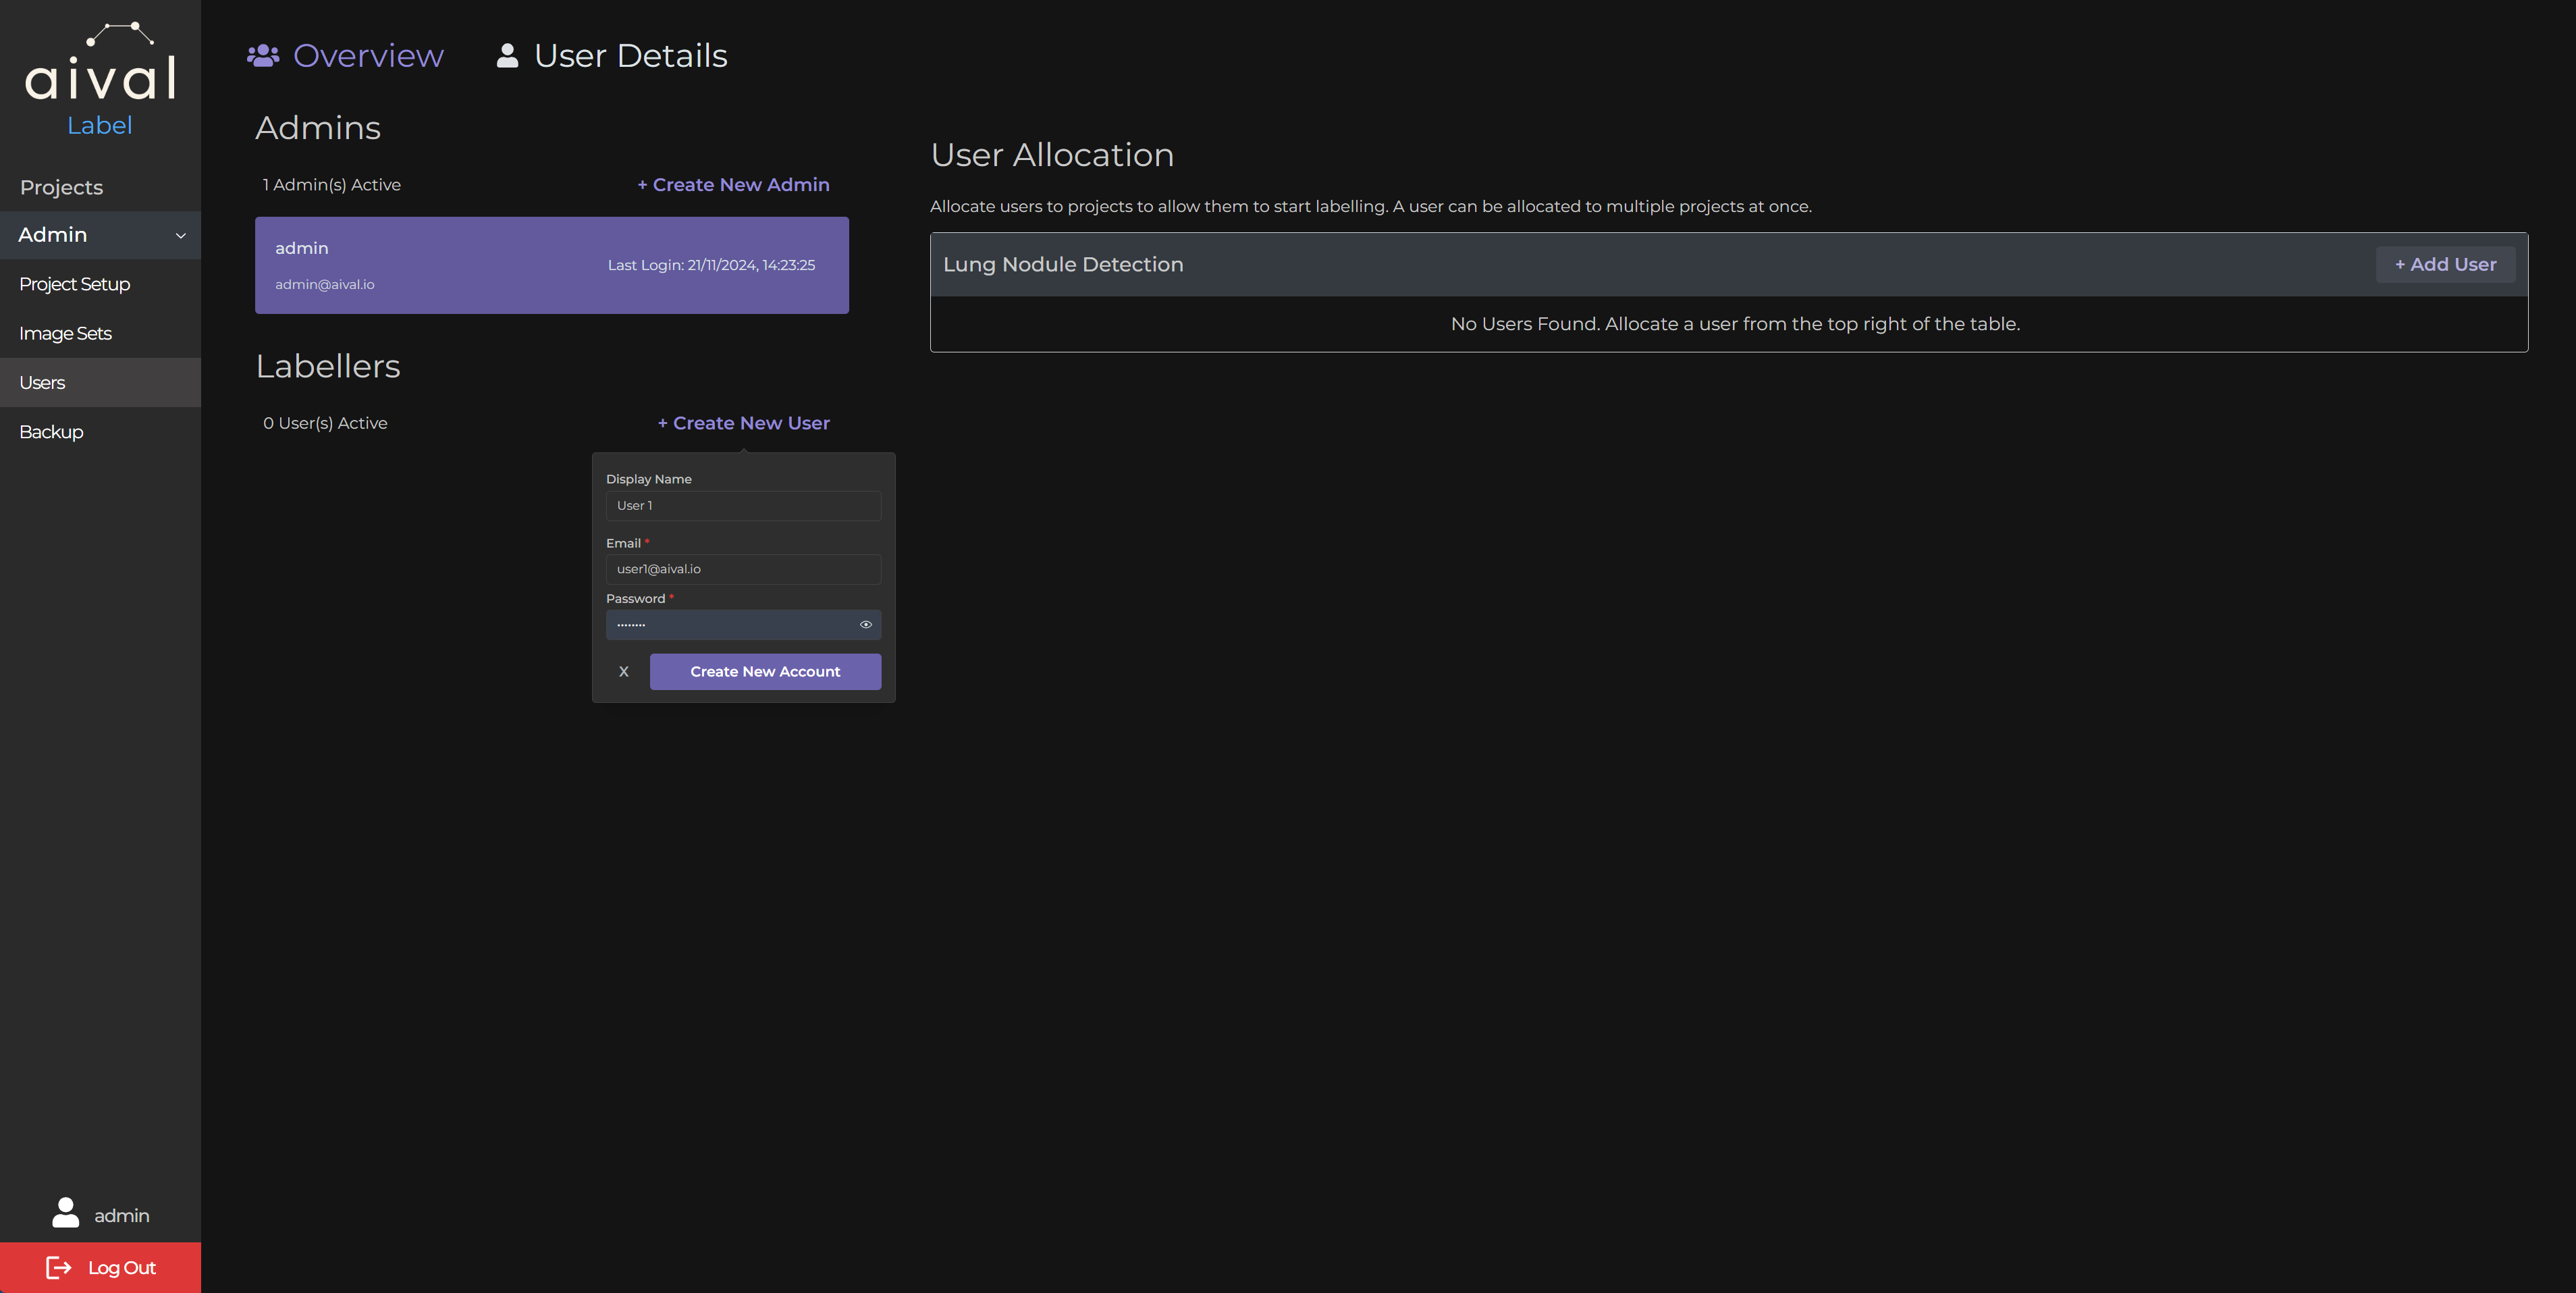
Step 3: Click on 'Create New Account': To confirm the details and submit the form to create the labeller account.
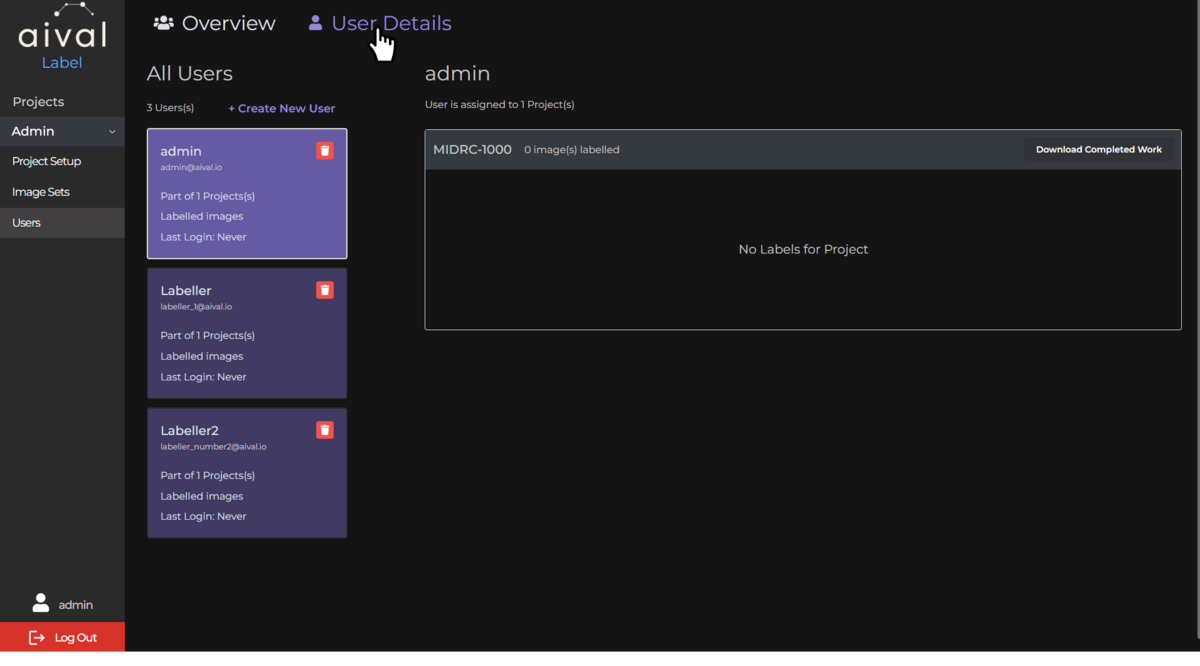
Once a new labeller has successfully been created it will be added to the record and can be also seen in the tab called 'User Details' where you will be able to see details about each user - how many projects they've been added to, what studies they've been allocated to.
Adding Labellers to Projects
Now that you've created their account, let's get them set up with project access. The great thing is that labellers can work on multiple projects at once!
Two Easy Ways to Add a Labeller
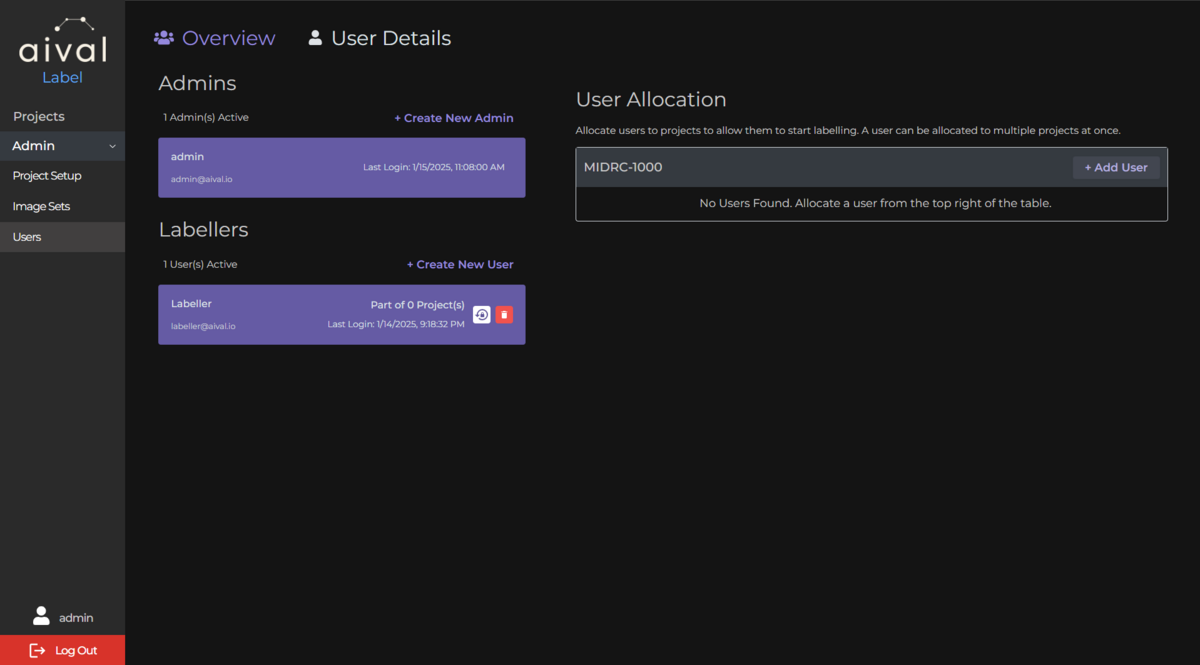
Option 1: From the Users Tab
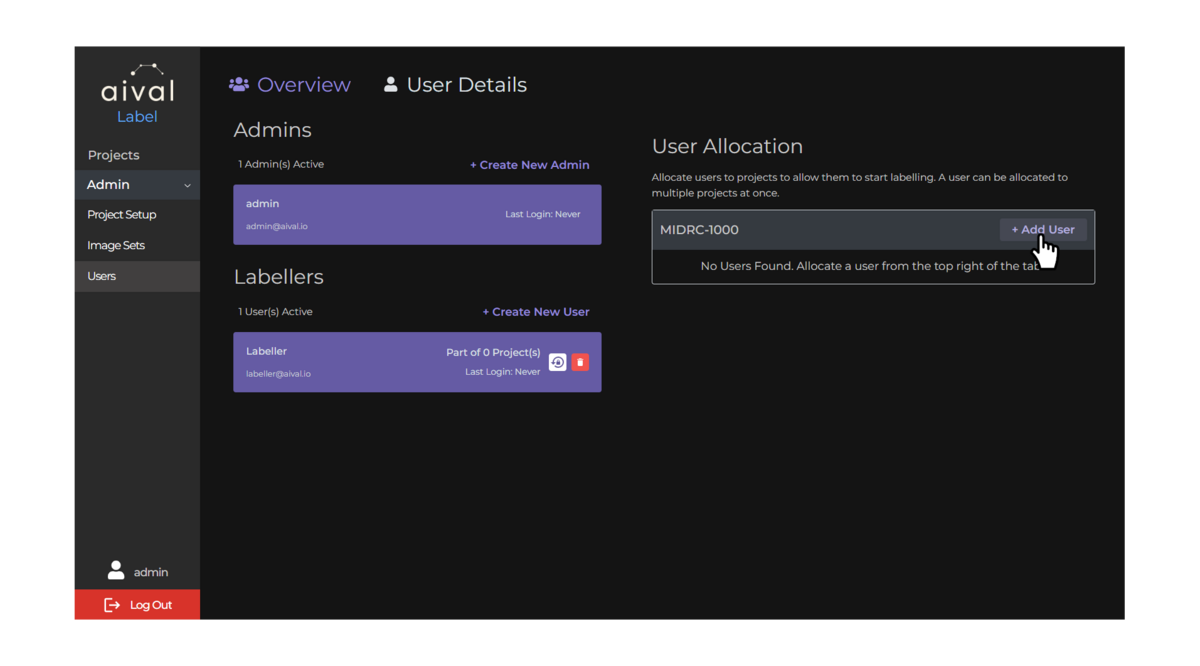
- Go to the 'Users' tab
- Look for the 'User Allocations' section on the right
- Click '+ Add User' and select their name
- Leave the Arbitrator box unchecked for regular labellers
Step 1: Navigate to the 'Users' tab : The labeller you would like to add to a project should be listed in the user records, under 'All Users'. The project that you have already created should be displayed on the right hand side of the page under 'User Allocations'.
Step 2: Click on the '+ Add User' button: A pop up will appear asking you to select the existing labeller to the project. To indicate that this labeller is not an Arbitrator simply leave that box unmarked.
Step 3: Click on 'Add User' in the pop up: To confirm that you would like to add this labeller to the selected project.
Step 4: Leave the Arbitrator box unchecked for regular labellers.
Arbitrators are labellers with special permissions to review studies with conflicting labels for arbitration projects.
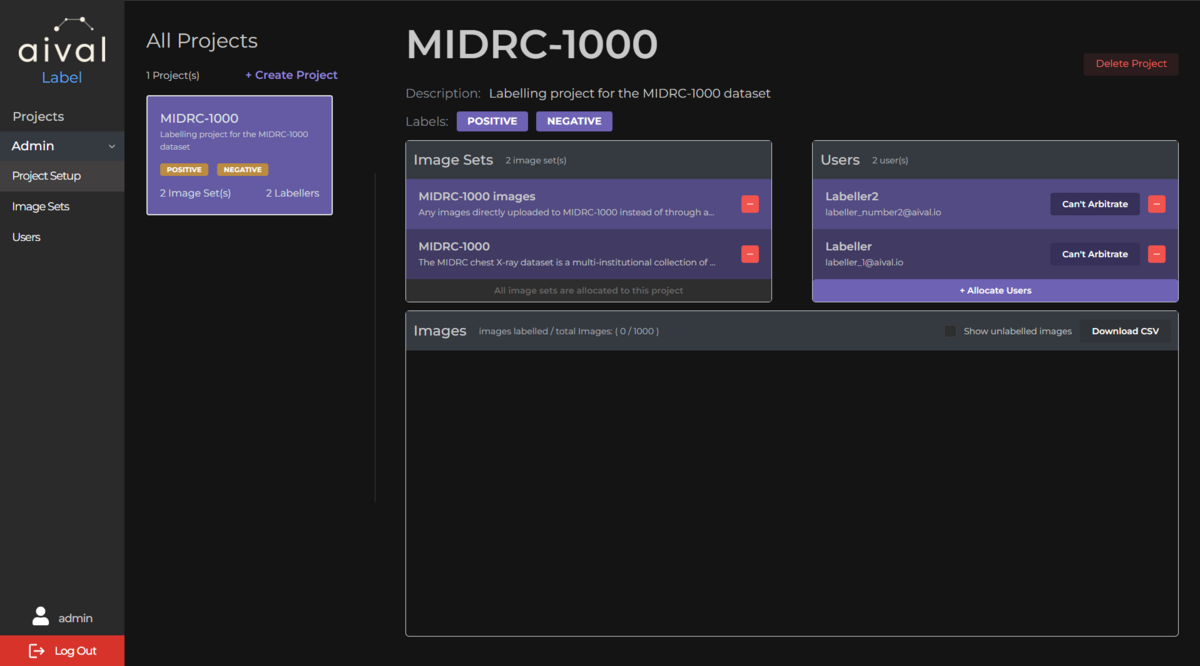
Option 2: From the Projects Tab
- Go to the 'Projects' tab
- Click on your project you would like to add the labeller to
- Find the 'Users' table
- Click 'Allocate Users' and select their name
- Leave the Arbitrator box unchecked for regular labellers
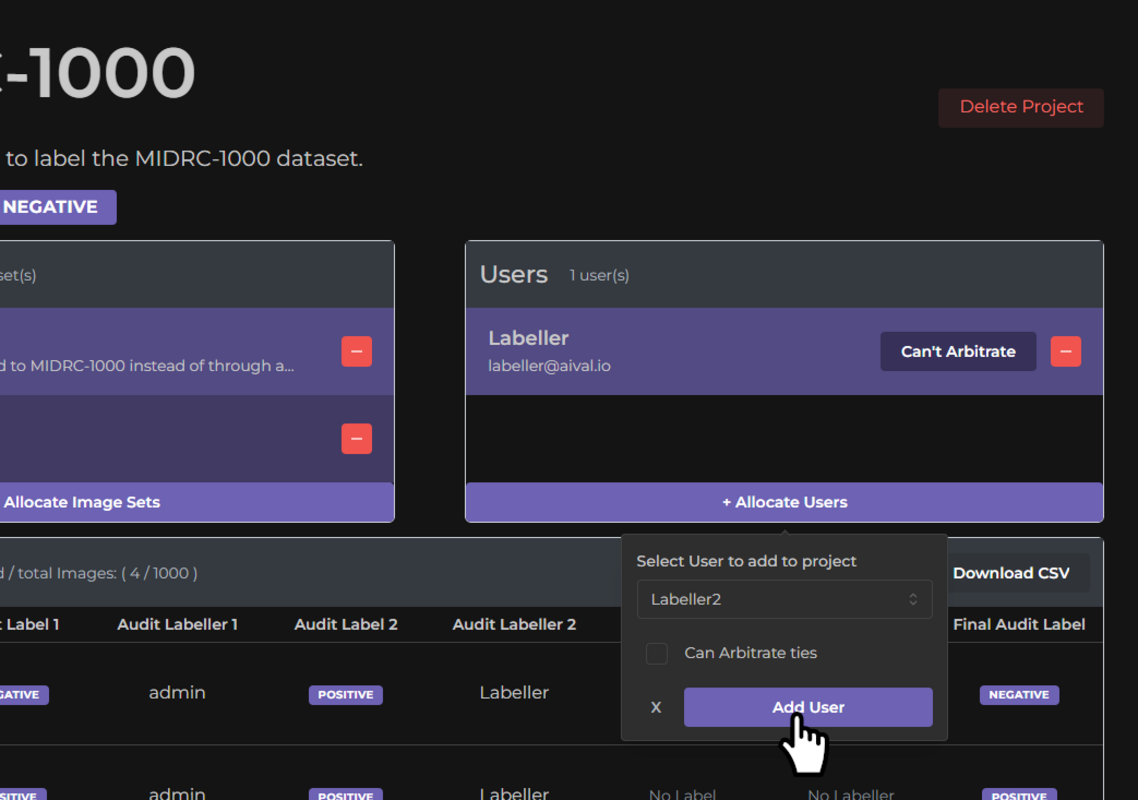
Once the labeller has been successfully added to the project they will appear in the specific project User table in the 'Projects' tab.